What You Need to Know About Mold Removal and Repair
Mold removal and repair is one of the most urgent maintenance issues a commercial property manager can face — and one of the most misunderstood.
Here’s a quick overview of what the process involves:
- Identify visible mold and hidden moisture sources
- Contain the affected area to stop spore spread
- Remove contaminated materials (porous items are usually discarded)
- Clean and dry all remaining surfaces completely
- Repair structural damage and restore the space
- Verify with post-remediation testing before reoccupying
The bottom line: Mold areas under 10 square feet can sometimes be handled by trained building staff. Anything larger — or involving HVAC systems, contaminated water, or health symptoms — requires a licensed professional.
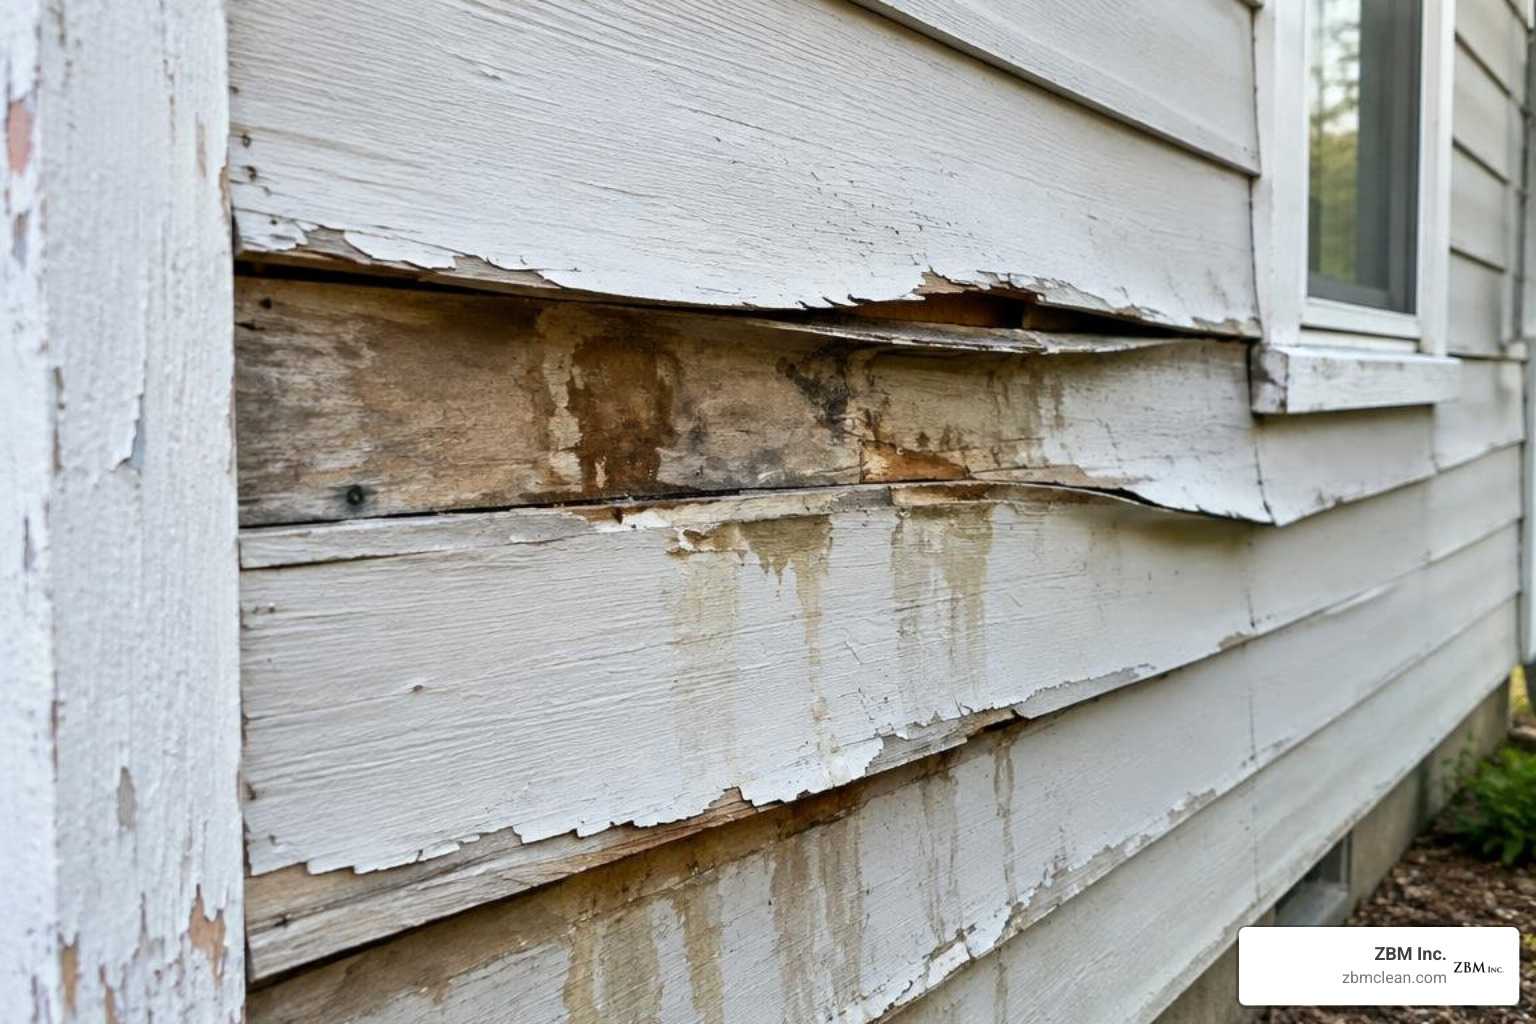
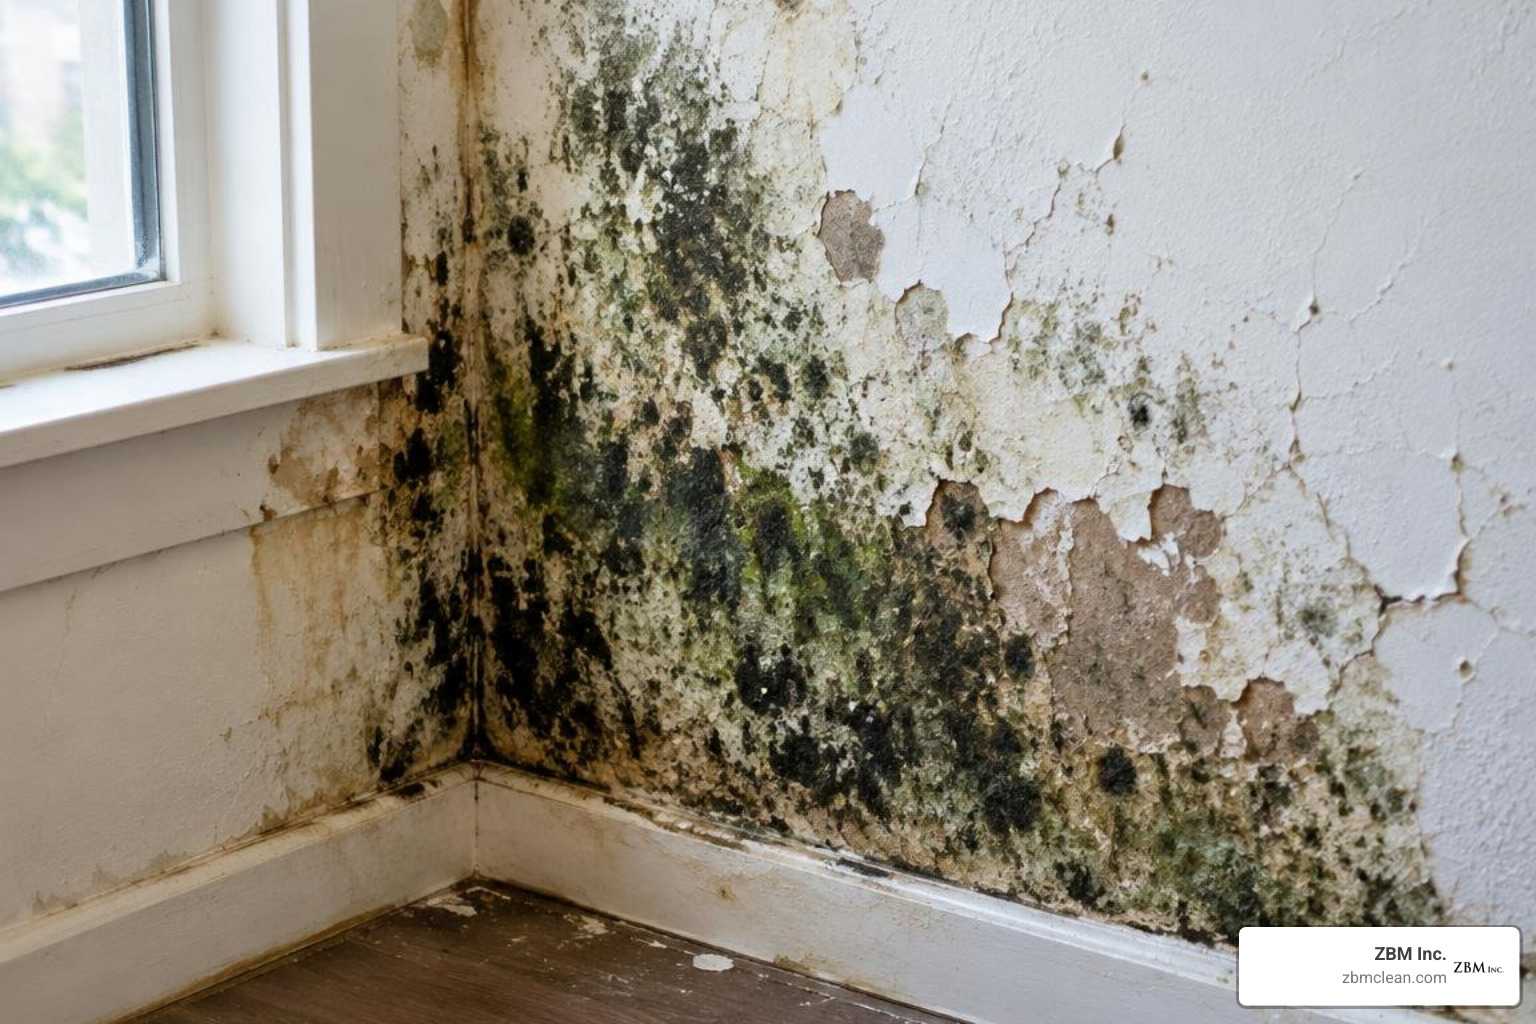
Mold is not just a cosmetic problem. It grows fast, spreads silently through walls and air ducts, and causes damage that gets worse every day it goes untreated. According to the EPA, mold can begin growing within 24 to 48 hours after water intrusion — meaning a slow response to a burst pipe or roof leak can turn a minor cleanup into a major remediation project.
For commercial property managers in particular, the stakes are high. Tenants, employees, and visitors may be exposed to airborne spores before you even notice visible growth. And if the underlying moisture source isn’t fixed, mold will return — no matter how thorough the initial cleanup.
This guide walks you through every stage of the process: from recognizing early warning signs to understanding what professional remediation actually involves, what it costs, and how to protect your property long-term.
I’m Terry Zastrow, owner of ZBM, Inc., a firm with approximately 30 years of experience in mold removal and repair, biohazard cleanup, and disaster recovery for commercial, municipal, and private-sector clients. ZBM, Inc. holds IICRC certification and has completed extensive training in OSHA safety standards, HAZWOPER protocols, and FEMA Incident Command — so the guidance in this article reflects real field experience, not just theory.

Basic mold removal and repair terms:
Understanding the Basics of Mold Removal and Repair
To effectively address a mold issue, we must first understand what we are dealing with. Mold is a type of fungus that thrives in warm, damp, and humid environments. It reproduces by releasing microscopic spores into the air. These spores exist naturally all around us, both indoors and outdoors, but they only become a problem when they land on a wet surface and find a food source, such as drywall, wood, or carpeting.
When mold begins to colonize, it presents serious health risks and structural challenges. Inhaling or touching mold spores can trigger allergic reactions, asthma attacks, and other respiratory issues. For vulnerable populations—such as children, the elderly, and immune-compromised individuals—the health risks are even more severe. Exposure can lead to chronic sinus infections, fatigue, and persistent coughing. If you or anyone in your building is experiencing unexplained respiratory symptoms, it is crucial to consult a doctor before starting any cleanup.
Different types of mold carry varying levels of risk. While some cause minor cosmetic damage, others release toxic compounds known as mycotoxins. To understand the specific dangers of these organisms, you can read about The 5 Types of Toxic Mold: Why You Need Biohazard Cleanup. Identifying the type of mold in your property helps determine the level of containment and safety protocols required during the mold removal and repair process.
When to Choose DIY vs. Professional Mold Removal and Repair
How do you know when a mold problem is small enough to tackle yourself, and when is it time to bring in the pros? The Environmental Protection Agency (EPA) provides a clear rule of thumb: if the affected area is less than 10 square feet (roughly a 3-foot by 3-foot patch), you can typically handle it yourself.
However, if the mold covers more than 10 square feet, is located inside your HVAC system, or was caused by sewage or contaminated floodwaters, you must hire a professional. Attempting to clean large areas without proper containment will only release millions of spores into the air, spreading the contamination to unaffected parts of your building.
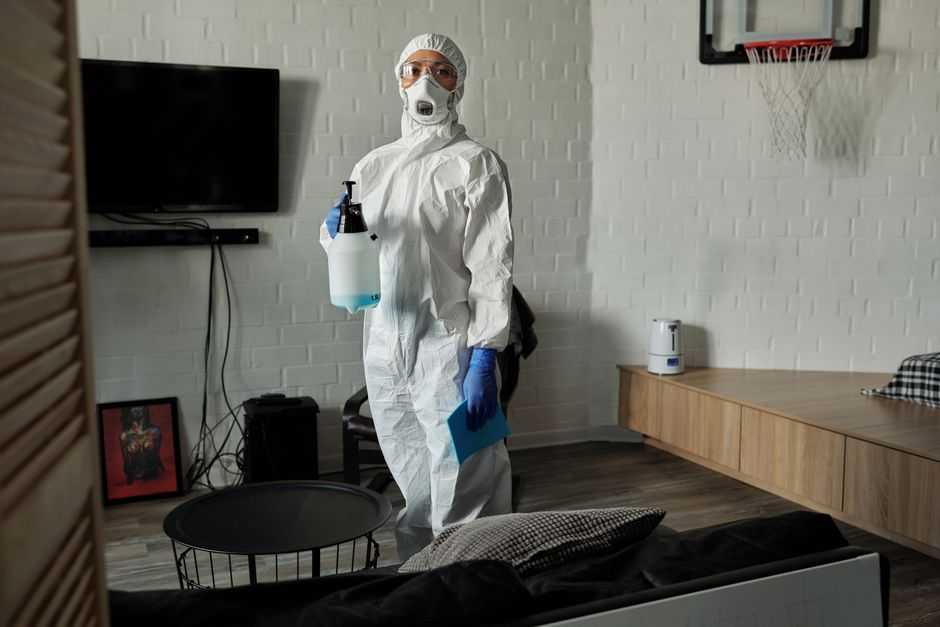
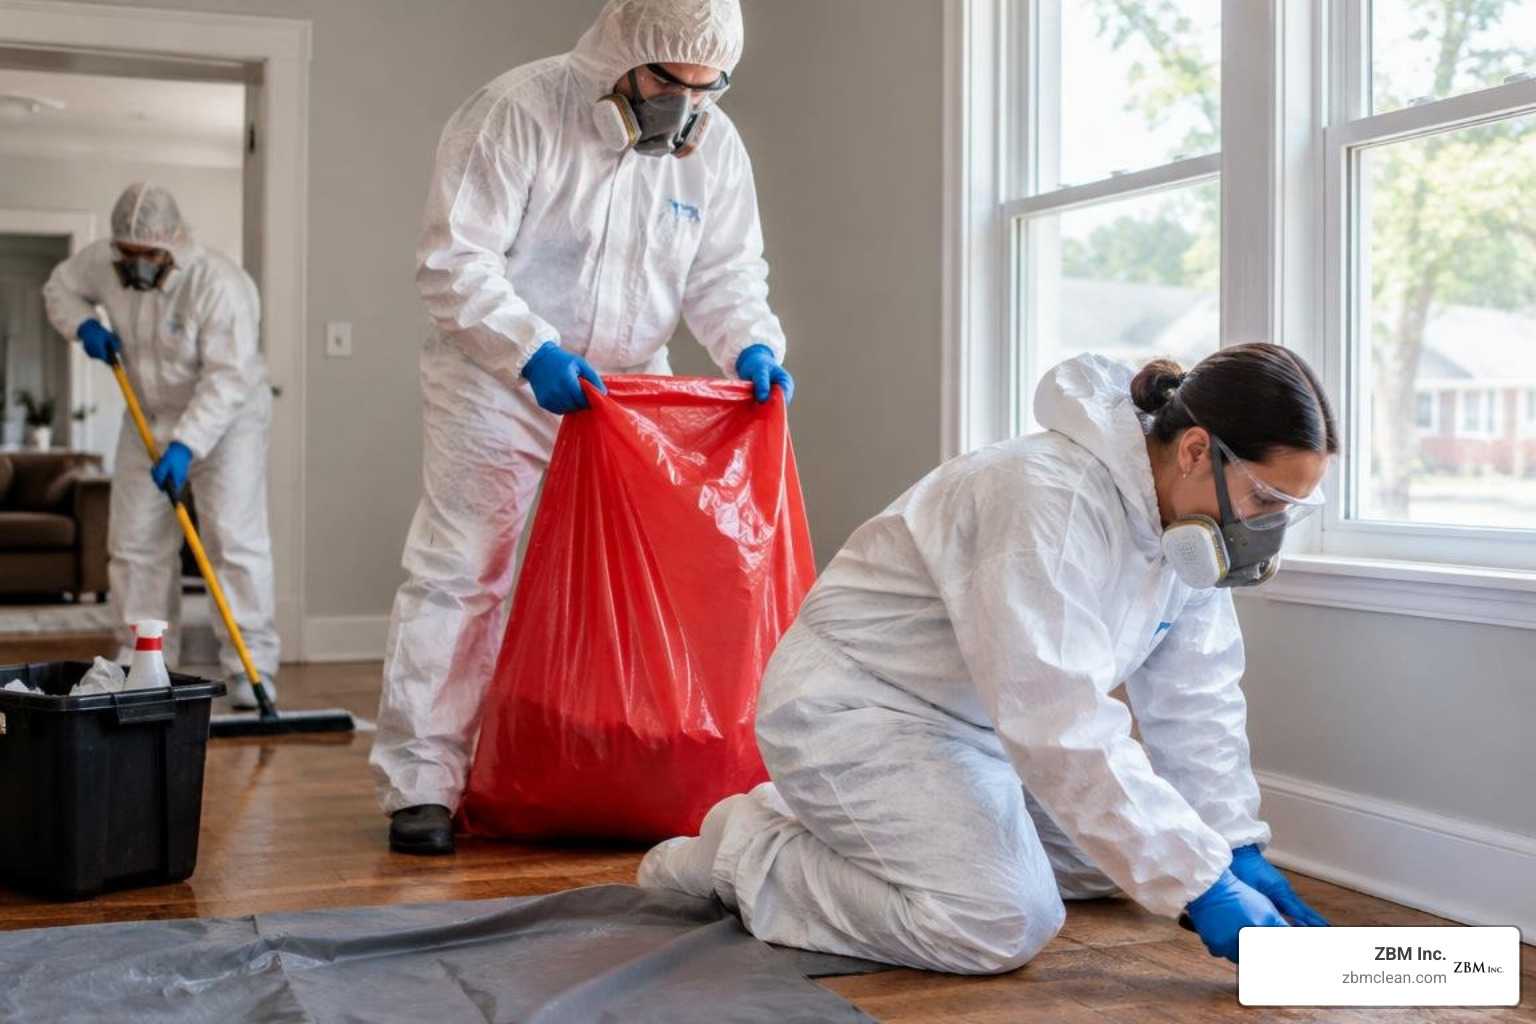
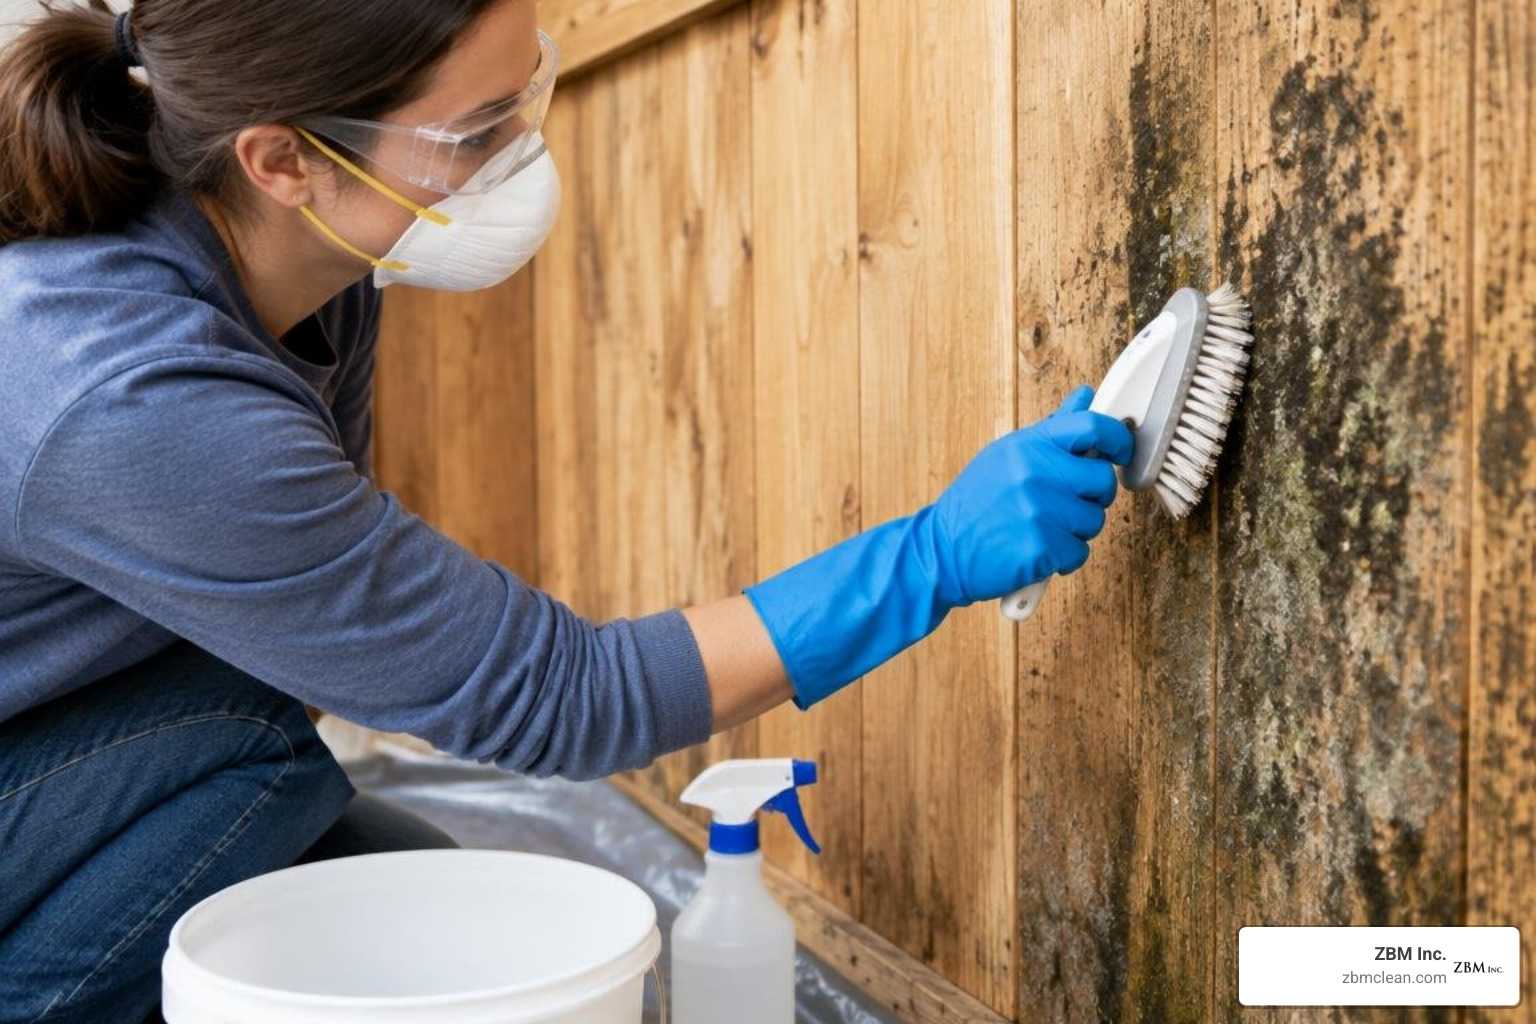
If you do decide to tackle a small, localized patch of mold, you must follow strict safety precautions. Never scrape or scrub dry mold, as this sends spores airborne. Always wear the proper Personal Protective Equipment (PPE) to protect your health:
- N-95 respirator mask (or a higher-rated half-face respirator)
- Goggles without ventilation holes to protect your eyes
- Long rubber gloves that extend to your forearms
- Protective clothing (such as a disposable Tyvek suit) that can be discarded or washed immediately after use
Before you spray any chemicals or attempt to wipe down surfaces, it is highly beneficial to understand the legal and safety standards surrounding remediation. Check out our guide on Mold Remediation Licensing: What You Need to Know Before You Spray to ensure you are operating safely and within local guidelines.
The Critical Timeline for Mold Removal and Repair After Water Damage
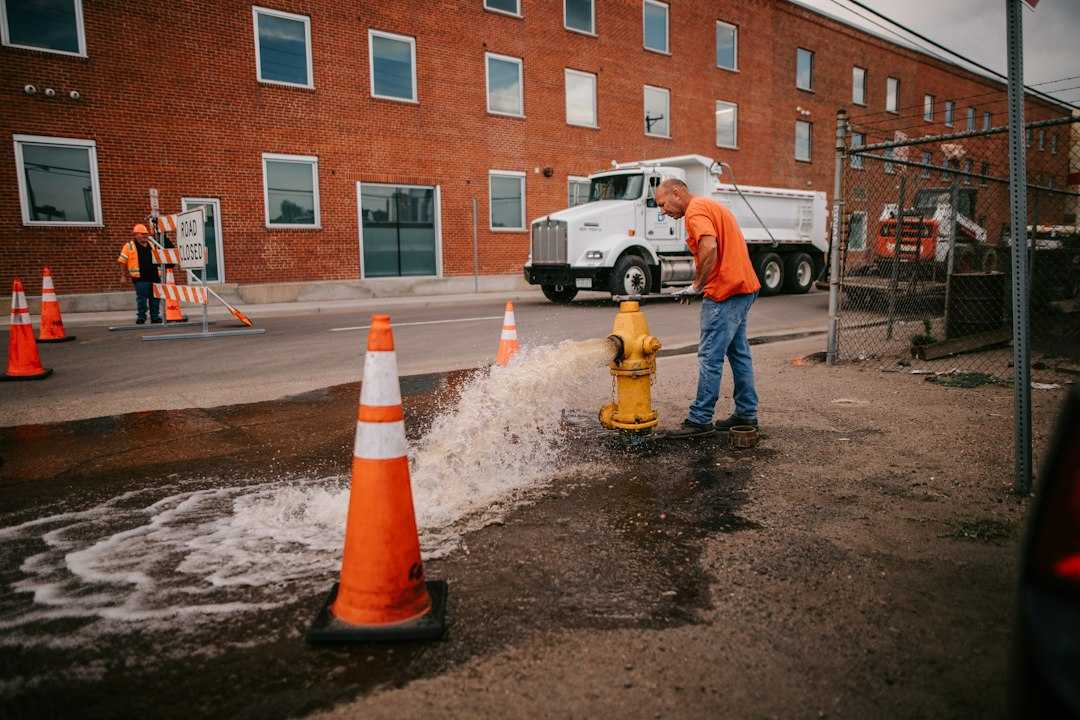
When water enters your property—whether from a burst pipe, a leaking roof, or seasonal flooding in Southeast Wisconsin—the clock starts ticking immediately. Mold spores can begin to germinate and grow within 24 to 48 hours of water exposure. This is why rapid response is absolutely critical.

The longer standing water and wet materials are left unaddressed, the deeper the mold will penetrate. It will migrate from surface-level cosmetic staining into the structural framing of your property, rotting wood studs, ruining drywall, and compromising the structural integrity of your building.
Furthermore, wet materials become breeding grounds for bacteria and viruses alongside mold. By acting quickly to extract water and set up commercial drying equipment, you dramatically reduce both the ultimate cost of the repairs and the health risks to your building’s occupants.
The Step-by-Step Professional Mold Remediation Process
When you hire a certified professional team for mold removal and repair, they follow a highly structured, scientific process to ensure the mold is safely contained, physically removed, and prevented from returning.

Here is what the professional remediation process looks like:
- Inspection and Assessment: Technicians use specialized tools like moisture meters and thermal imaging cameras to map out the full extent of the moisture and mold, including hidden growth behind walls.
- Containment: To prevent cross-contamination, the team seals off the work area using heavy-duty plastic sheeting and tension poles.
- Negative Air Pressure: By setting up HEPA-filtered air scrubbers that vent air outside the containment zone, technicians create negative air pressure. This ensures that no airborne spores can escape into the rest of the building when workers enter or exit.
- Air Filtration: Continuous air filtration using industrial air scrubbers captures airborne spores as small as 0.3 microns.
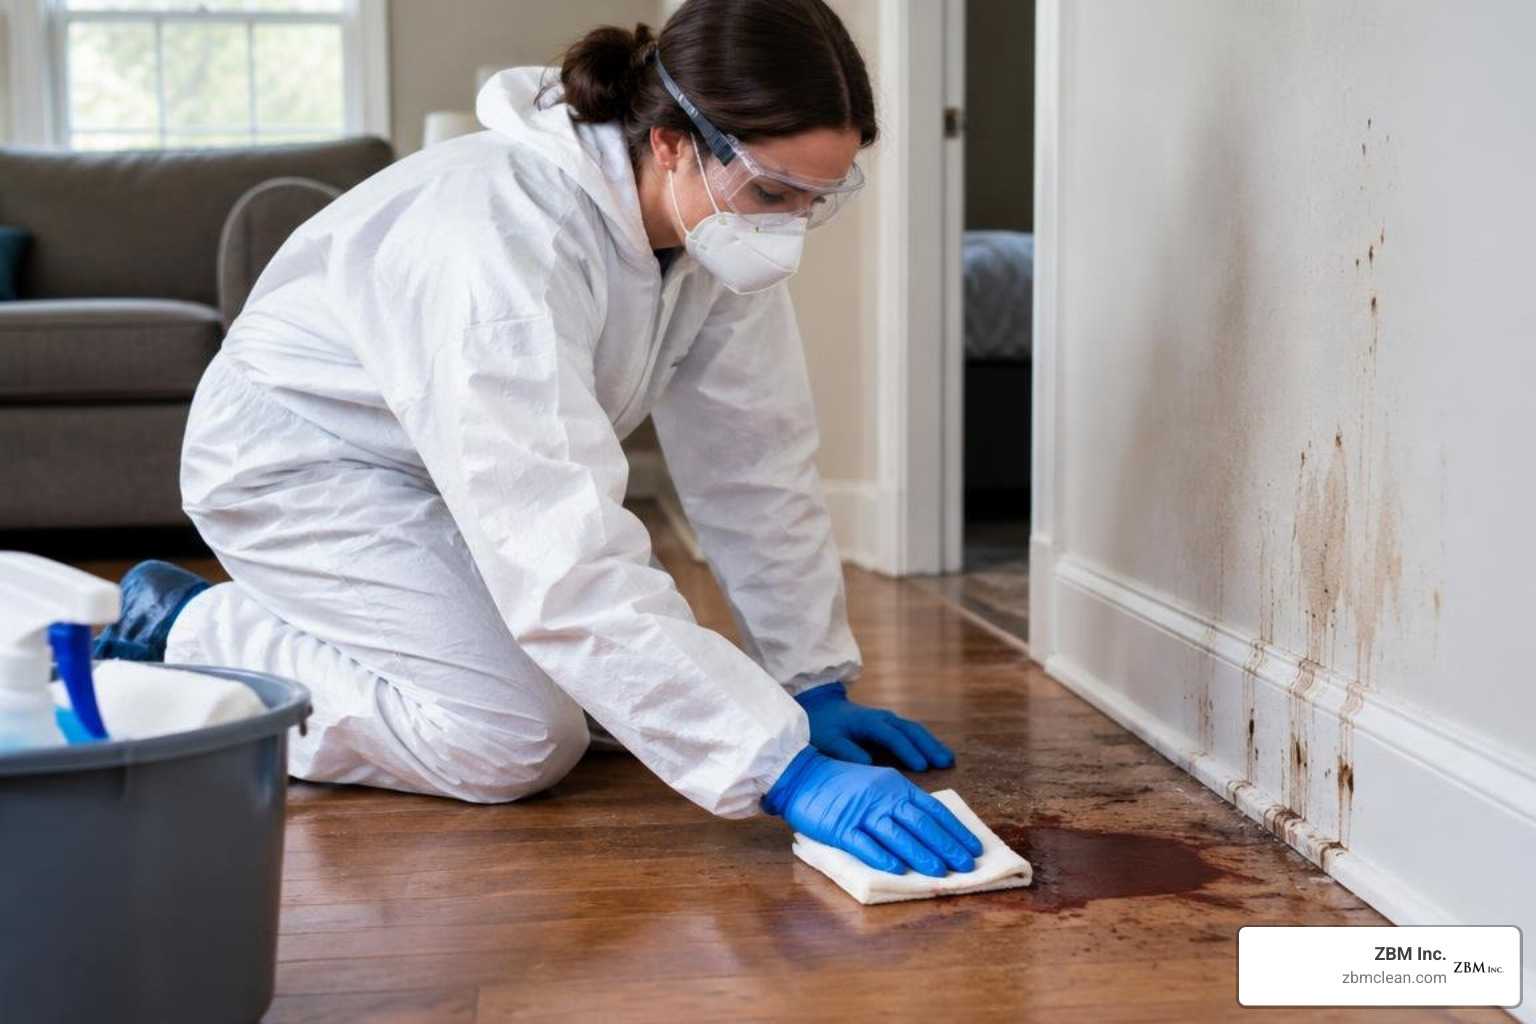
- Physical Removal and Cleaning: Contaminated materials are carefully bagged and removed. Remaining hard surfaces are scrubbed with specialized detergents and treated with EPA-approved antimicrobials.
- Drying and Dehumidification: Industrial air movers and dehumidifiers are deployed to bring the moisture levels of the remaining structure down to safe, dry standards.
- Post-Remediation Verification: A third-party inspector performs air quality and surface testing to verify that mold levels have returned to normal, safe background levels before containment is taken down.
For a deeper look into how professionals isolate and neutralize spores, read about how to Stop the Spore with Professional Mold Abatement Services.
Identifying and Fixing the Moisture Source
The absolute golden rule of mold remediation is this: mold will always return if you do not fix the underlying moisture source. Mold cannot grow without water. Therefore, the first step in any successful remediation project is locating and repairing the leak, condensation issue, or high humidity that allowed the mold to take hold in the first place.

Professionals use advanced diagnostic tools to trace moisture back to its origin:
- Moisture Meters: These devices measure the exact moisture content of wood, drywall, and concrete, helping us identify wet materials that may look dry to the naked eye.
- Thermal Imaging: Infrared cameras detect temperature differences in walls and ceilings. Because wet materials are typically cooler than dry ones, thermal imaging allows us to “see” water leaks hidden deep inside wall cavities.
If you suspect mold is growing out of sight, you should read about The Scary Truth About Mold Hiding Inside Your Walls to learn how hidden leaks can quietly compromise your building.
Material Salvage vs. Disposal Guidelines
During mold removal and repair, materials are generally divided into three categories: porous, semi-porous, and non-porous. How we treat these materials determines whether they can be saved or must be thrown away.
- Porous Materials (Discard): Materials like drywall, ceiling tiles, insulation, and carpets have tiny, open pockets where mold can grow deep below the surface. Because it is virtually impossible to remove mold roots from these fibers, these items must be carefully cut out, bagged in thick plastic, and disposed of.
- Semi-Porous Materials (Clean and Treat): Solid wood and concrete are semi-porous. Mold can grow on them, but it rarely penetrates deeply unless left wet for months. These materials can often be saved by physically cleaning the surface, sanding away affected outer layers, and treating them with specialized sealants.
- Non-Porous Materials (Clean and Keep): Metal, glass, tile, and hard plastics can be completely sanitized. Mold cannot penetrate these materials, so a thorough scrub with detergent and water followed by an antimicrobial treatment is all that is required.
If you are dealing with mold on structural lumber, you can find specific solutions in our guide on The Best Ways to Kill Black Mold on Wood Instantly. For valuable or sentimental furniture items, refer to The Ultimate Guide to Hiring Furniture Mold Remediation Experts to see how specialized cleaning can salvage your assets.
HVAC and Ductwork Considerations
Your HVAC system is the lungs of your building. If mold gets inside your heating, ventilation, and air conditioning system, it can quickly spread spores to every single room in your property every time the fan turns on.
If you suspect mold contamination in your HVAC system:
- Turn off the system immediately. Do not run the air conditioning or heat, as this will spread spores throughout the building.
- Inspect the ductwork. Look for visible mold around supply vents, damp insulation near the coils, or a persistent musty odor when the system runs.
- Hire a certified specialist. Cleaning ductwork requires specialized negative-pressure vacuum systems and HEPA filtration to ensure spores are captured rather than blown into your living spaces.
- Replace filters. Always upgrade to high-efficiency HEPA filters after remediation is complete to keep your indoor air clean.
To protect your property’s air quality, read our helpful guide, Holy Moldy: A Homeowner’s Guide to Duct Mold Removal and Prevention.
Costs, Insurance, and Hiring Certified Professionals
Understanding the financial side of mold removal and repair is essential for planning and budgeting. Professional mold remediation costs typically range from $10 to $25 per square foot.
The total cost of a project depends heavily on the location of the mold, how difficult it is to access, and whether structural rebuilding is required. For example, a small crawl space or attic cleanup might cost between $500 and $5,000, while whole-property remediation for severe, widespread water damage can range from $10,000 to $30,000 or more.
| Project Scope | Typical Cost Range | Primary Factors Affecting Cost |
|---|---|---|
| Small Localized Area (Under 10 sq. ft.) | $200 – $600 | DIY safety gear, basic cleaning solutions, or minor professional inspection. |
| Moderate Remediation (Single Room/Attic) | $1,500 – $5,000 | Containment setup, material disposal (drywall/carpet), and structural drying. |
| Widespread/HVAC Remediation | $6,000 – $15,000 | Duct cleaning, extensive containment, multiple air scrubbers, and structural repairs. |
| Whole-Property Restoration | $10,000 – $30,000+ | Large-scale reconstruction, extensive demolition, and long-term commercial drying. |
Whether this cost is covered by your homeowners or commercial property insurance depends entirely on the root cause of the moisture. Insurance companies typically cover mold remediation if it is the direct result of a covered peril—such as a sudden, accidental pipe burst or storm damage. However, they will almost always exclude coverage if the mold was caused by neglect or lack of maintenance, such as a slow, unaddressed roof leak or high humidity from poor ventilation.
To maximize your chances of a successful claim, document everything. Take high-resolution photos of the water damage and mold before any work begins, keep detailed logs of moisture readings, and work with a remediation company that can provide professional documentation directly to your insurance adjuster.
For a comprehensive breakdown of pricing structures, consult our Mold Abatement Cost Guide: From Square Foot Rates to Full Remediation. When you are ready to hire, protect yourself by reviewing The Ultimate Guide to Finding a Trustworthy Black Mold Removal Company.
Certifications to Look For in a Remediation Company
Because the mold industry is highly technical, you should only trust your property to qualified professionals. When vetting local service providers in Southeast Wisconsin, always look for the following credentials:
- IICRC Certification: The IICRC (Institute of Inspection, Cleaning and Restoration Certification) is the gold standard of the restoration industry. Look for companies whose technicians are certified as Applied Microbial Remediation Technicians (AMRT).
- ACGIH Guidelines: Trustworthy contractors strictly follow the guidelines established by the American Conference of Governmental Industrial Hygienists.
- EPA Protocols: Ensure the company adheres to EPA standards for mold remediation in commercial and residential buildings.
- Licensed, Bonded, and Insured: Never hire a contractor who cannot provide proof of general liability and environmental/pollution insurance. This protects you in the rare event that mold spores are accidentally spread during the cleanup process.
For professional assistance in Southeast Wisconsin, homeowners and commercial property managers should partner with a local restoration expert that strictly follows these industry standards to ensure a safe, thorough cleanup.
Frequently Asked Questions About Mold Remediation
How long does professional mold remediation typically take?
Most residential and light commercial mold remediation projects take 1 to 5 days to complete. The exact timeline depends on:
- The size of the affected area
- The amount of demolition required (such as removing wet drywall or flooring)
- The time needed to completely dry the structural framing using commercial dehumidifiers
- Whether structural rebuilding and cosmetic repairs are included in the contractor’s scope of work
Is mold remediation covered by homeowners insurance?
Yes, but only under specific circumstances. If the mold developed directly after a sudden, accidental event like a burst water pipe, water heater failure, or storm damage, your policy will likely cover the cleanup and repair. However, if the mold is due to long-term neglect, high indoor humidity, or a slow leak that you failed to fix in a timely manner, insurance will typically deny the claim. Always document the damage thoroughly and communicate clearly with your insurance adjuster.
Can mold return after professional remediation?
Yes, mold can return if the root cause of the moisture is not completely resolved. Professional remediation removes the existing mold and lowers spore counts to safe levels, but it cannot prevent new mold from growing if water enters the space again. To keep mold from returning, maintain indoor humidity levels below 50%, fix plumbing and roof leaks immediately, and ensure damp areas like bathrooms and kitchens are properly ventilated.
Conclusion
Dealing with mold can feel overwhelming, but taking swift, decisive action is the best way to protect your property and your health. By understanding the science of mold growth, acting within the critical 24-to-48-hour window after water damage, and knowing when to call in the professionals, you can navigate mold removal and repair with confidence.
At ZBM, Inc., we are proud to serve our community as a licensed, bonded, and insured, family-owned cleaning and restoration provider based in Watertown, WI. We offer full-service commercial and residential cleanup—including office cleaning, disaster recovery, biohazard mitigation, and hoarding cleanup—across Dodge County, Jefferson County, Lake Mills, and throughout Southeast Wisconsin and the Northwoods.
Our certified team is always here to bring clarity and calm to stressful situations. If you suspect you have a mold issue in your home or business, don’t wait for the damage to spread. To learn more about identifying hazardous mold strains, read our detailed guide on The 5 Types of Toxic Mold: Why You Need Biohazard Cleanup or contact our team today to schedule an inspection.